Mastering Solo Travel Photography Guide to Capturing Self-Portraits
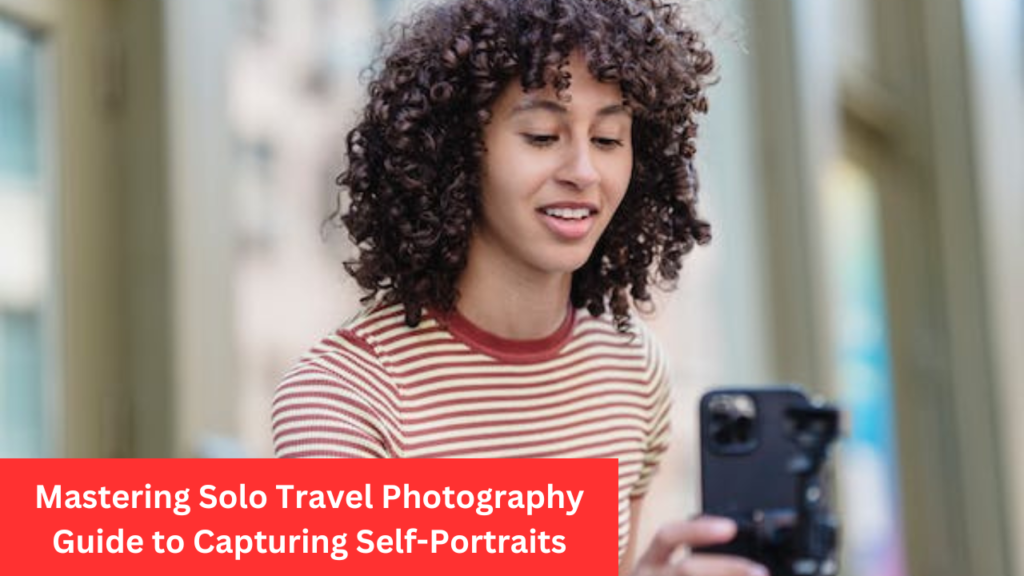
Solo travel photography opens the door to incredible experiences and self-discovery, but it often poses a challenge when it comes to capturing memorable moments on camera. Taking travel photos of yourself requires a combination of creativity, technical skills, and a bit of planning. In this comprehensive guide, we’ll explore various techniques, equipment, and tips to help you master the art of solo travel photography and create stunning self-portraits that tell your unique travel story.
Planning and Preparation
1.Choose the Right Destination:
- Consider destinations with captivating landscapes, interesting architecture, and vibrant street scenes.
- Research local customs and etiquette to ensure your photo-taking activities are culturally respectful.
2.Time of Day Matters
- Plan your photo sessions during the golden hours – early morning or late afternoon – for soft, flattering light.
- Avoid harsh midday sun, which can create unflattering shadows and overexposed photos.
3.Scout Locations in Advance
- Identify picturesque spots and landmarks in advance using travel guides, online resources, or local recommendations.
- Be flexible and open to discovering hidden gems during your exploration.
Essential Gear and Equipment
1.Choose the Right Camera

- Opt for a lightweight and portable camera – a mirrorless or compact camera is ideal for solo travelers.
- Alternatively, modern smartphones offer impressive camera capabilities for convenience.
2.Invest in a Sturdy Tripod
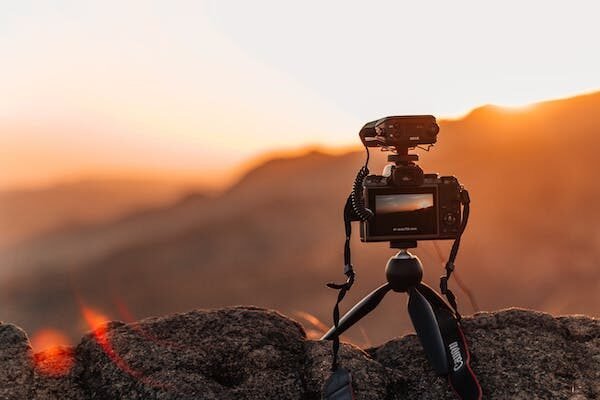
- A compact and portable tripod is essential for stabilizing your camera and achieving sharp, well-composed shots.
- Look for a tripod with adjustable height and stability features.
3.Remote Shutter Release or Timer
- Use a remote shutter release or your camera’s timer function to capture photos without needing assistance.
- This minimizes the risk of camera shake and allows you to be more creative with your poses.
4.Consider External Lenses
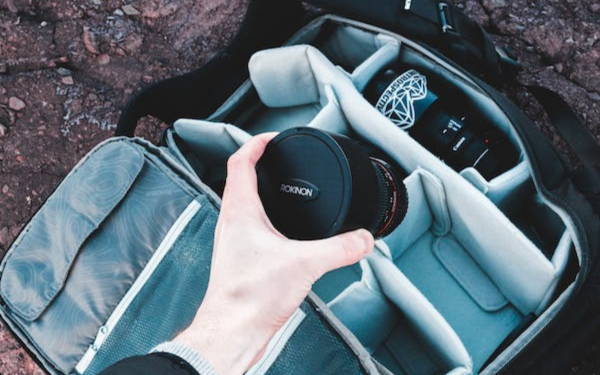
- Enhance your camera’s capabilities with external lenses for different perspectives (wide-angle, macro, etc.).
- Research and choose lenses that suit your style and the type of photos you want to capture.
Composition and Framing
1.Rule of Thirds
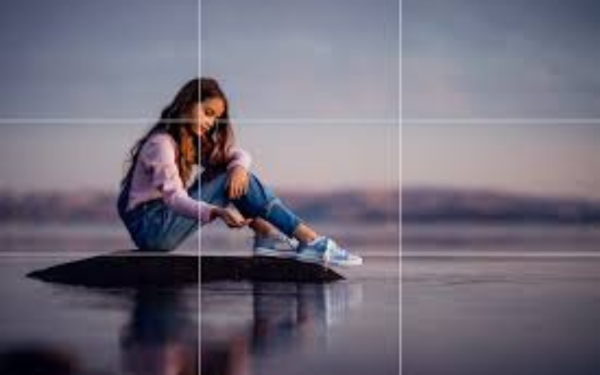
- Apply the rule of thirds to create well-balanced compositions. Imagine your frame divided into a 3×3 grid and place yourself at the intersections
2.Experiment with Angles
- Explore various angles – high, low, and eye level – to find the most flattering and interesting perspectives.
- Be mindful of the background and eliminate distracting elements.
3.Foreground Elements
- Incorporate foreground elements to add depth and interest to your photos.
- Experiment with framing yourself against natural elements like trees, archways, or cityscapes.
4.Leading Lines
- Utilize leading lines in the environment to guide the viewer’s eyes toward you.
- Roads, pathways, or architectural lines can create dynamic and visually appealing compositions.
Setting Up the Shot
1.Camera Settings
- Use aperture priority mode for control over depth of field, ensuring you and the background are both in focus.
- Adjust ISO to maintain image quality in different lighting conditions, and use a wide aperture for a blurred background (bokeh).
2.Focus and Exposure
- Set your camera’s autofocus point on yourself or use manual focus if your camera supports it.
- Check exposure settings to avoid over or underexposure, especially when shooting against varying light conditions
3.Experiment with Perspectives
- Capture a mix of wide shots to showcase the surroundings and close-ups to highlight details.
- Experiment with creative angles and poses to add variety to your collection.
Posing and Expressions
1.Natural and Candid Shots

- Capture candid moments to convey genuine emotions and experiences.
- Engage with your surroundings and let your expressions tell a story.
2.Play with Depth of Field
- Experiment with depth of field to draw attention to specific elements in the frame.
- Blur the background slightly to make yourself the focal point.
3.Use Props or Elements in the Environment
- Incorporate props or elements from the environment to enhance the narrative of your photo.
- Consider holding a map, local food, or a cultural artifact to add context.
Post-Processing and Editing
1.Maintain a Consistent Style
- Develop a consistent editing style to give your self-portraits a cohesive and polished look.
- Experiment with color grading, contrast, and saturation to enhance the mood of your photos.
2.Retouching and Cropping
- Use retouching tools to enhance facial features and correct minor imperfections.
- Experiment with cropping to emphasize key elements and create visually compelling compositions.
3.Preserve the Authenticity
- While editing is a valuable tool, avoid excessive retouching that may compromise the authenticity of your travel experience.
- Aim for a balance between enhancement and preserving the raw beauty of the moment.
Safety and Practical Tips
1.Stay Aware of Surroundings
- Be mindful of your surroundings, especially in unfamiliar locations.
- Choose safe and well-trafficked areas for your photo sessions.
2.Secure Your Gear
- Keep a close eye on your equipment and use a reliable camera strap to prevent accidental drops or theft.
- Consider a small lock or cable to secure your camera when shooting in public spaces.
3.Engage with Locals
- Seek permission before taking photos in certain cultural or religious settings.
- Engage with locals, and you might find someone willing to take a photo for you or provide valuable insights into the best photo spots.
Keep reading more: How to Insulate a Tent for Winter Camping- Guide to10 praticle ways
Conclusion
Mastering the art of solo travel photography requires a blend of technical know-how, creativity, and a willingness to step out of your comfort zone. Armed with the right gear, knowledge of composition techniques, and a dash of spontaneity, you can capture stunning self-portraits that not only showcase your adventures but also tell a compelling visual story. Embrace the journey, both in front of and behind the lens, and let your travel photos become a reflection of your unique solo explorations.
Keep reading har : Essential Camping Supplies List – Guide for First-Time Campers
FAQ
1. How can I find the best locations for solo travel photography?
Research destinations in advance, explore local recommendations, and consider places with captivating landscapes or unique architecture.
2. What is the ideal time of day for capturing self-portraits during solo travel?
Aim for the golden hours – early morning or late afternoon – to benefit from soft, flattering light. Avoid harsh midday sun for better results.
3. Do I need a professional camera for solo travel photography, or can I use my smartphone?
While professional cameras offer more control, modern smartphones with advanced cameras can produce impressive results. Choose based on your comfort and preferences.
4. How can I avoid safety concerns while taking self-portraits in unfamiliar locations?
Stay aware of your surroundings, choose well-trafficked areas, and secure your gear. Engage with locals and seek permission in certain cultural or religious settings.
5.What post-processing techniques can enhance my solo travel photos without compromising authenticity?
Maintain a consistent editing style, focus on subtle enhancements, and strike a balance between preserving authenticity and adding a polished look to your photos.

